Moving a user from one place to another in your app shouldn’t be like an afternoon stroll with no particular destination in mind. There is a goal for both you and your users. And you’re trying to move them as effortlessly through your app as possible.
With that, you’ve likely mapped out as many potential flows for your users. You’ve likely even mocked them up visually in Photoshop. But it’s not enough to create a series of static screens to illustrate a flow — say filling out a contact form — then expect them to work.
You’ll want to see it in action. In this post, we’ll show you how to create an interactive user flow so you can give it a test drive.
The Importance of User Flows
Before we get into the nitty gritty of animating your static comps, let’s chat a second about user flows. As we discuss in the free e-book The Guide to Prototyping, a flow can make or break your app — especially if it’s mobile, where the experience is broken down into several pages.
Creating an effective flow always starts with your users. We suggest that you create user personas for your potential audience. This will help you understand your users motivations and needs. At the same time, it’ll help you shape how you’ll design your flow. We share more tips and tricks on creating user personas in The Guide to UX Design Process and Documentation.
So you’ve created personas, you figured out the flow and you’ve even comped out what they are visually in Photoshop. Let’s say you’ve created a flow to have someone contact the business for more information. Now you’ve got to see if it all fits together.
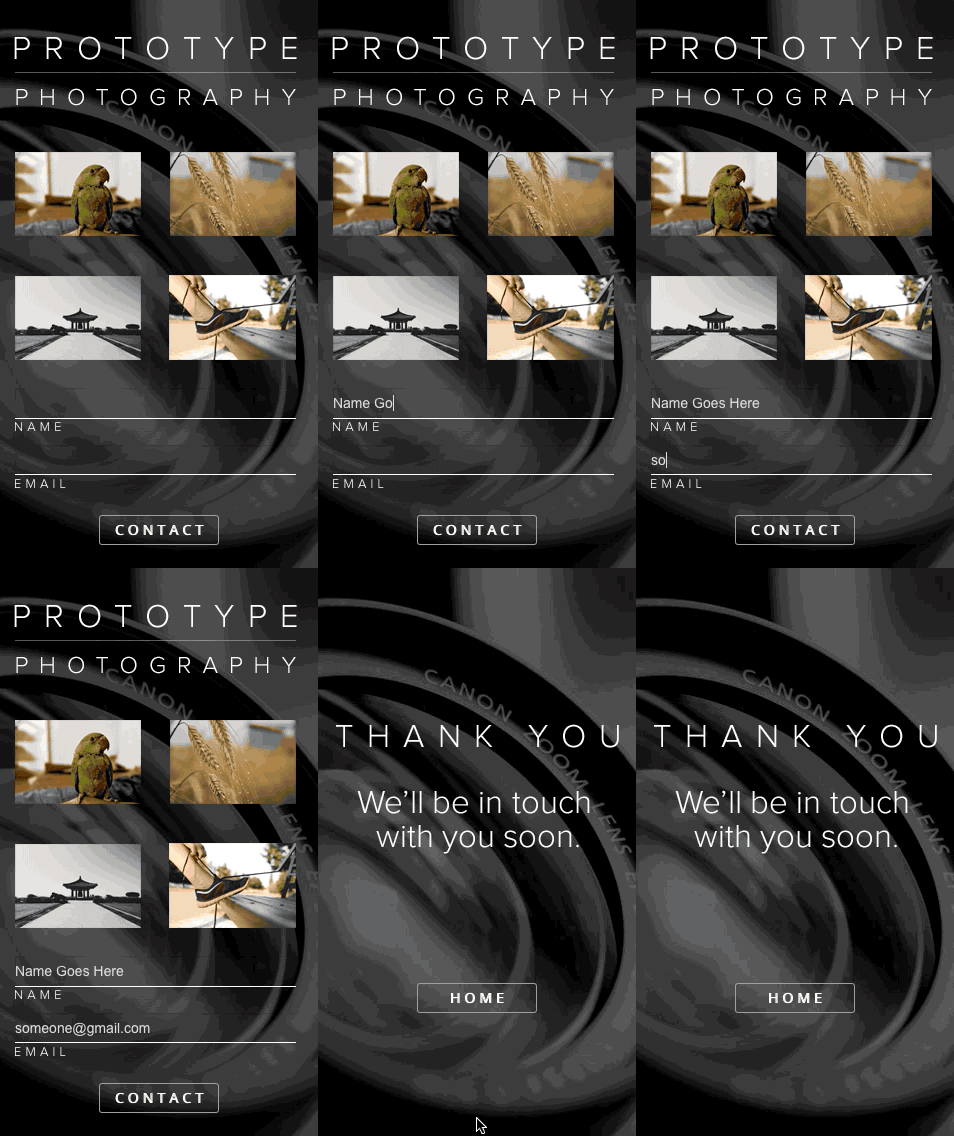
We’ll dive into taking your comps to animated prototype.
For this, you can follow along with your UXPin account (or start a free trial).
1. Download the plugin
You can import files from Photoshop or Sketch directly into UXPin, complete with named layers. But to do so, you need the plugins.
Look for “Photoshop” in the bottom left corner of your UXPin dashboard. Tap the link and your browser will prompt you to download the software. Double-click to open it on a Mac, and follow the instructions.
On Windows, our plugin supports Photoshop CC 2014 and 2015. Once you unzip the downloaded file, copy the ‘UXPinExport’ folder into “Plug-ins/Generator/” in your Photoshop folder. Next, please restart Photoshop. When you open your design in Photoshop, export option will be available under “File → Generate” menu. Once you do it, you’ll obtain *.uxpin file which you can upload to UXPin freely.
Mac or Windows, you only need to do this once.

2. Export from Photoshop
In Photoshop, go to File > Generate > UXPin Export. Save the file to your computer. That’s it.
3. Import the file
Choose a project folder in your UXPin dashboard, and drag the .uxpin file you created in Photoshop into the working area. This will upload the file and create a new prototype.
4. Add input fields
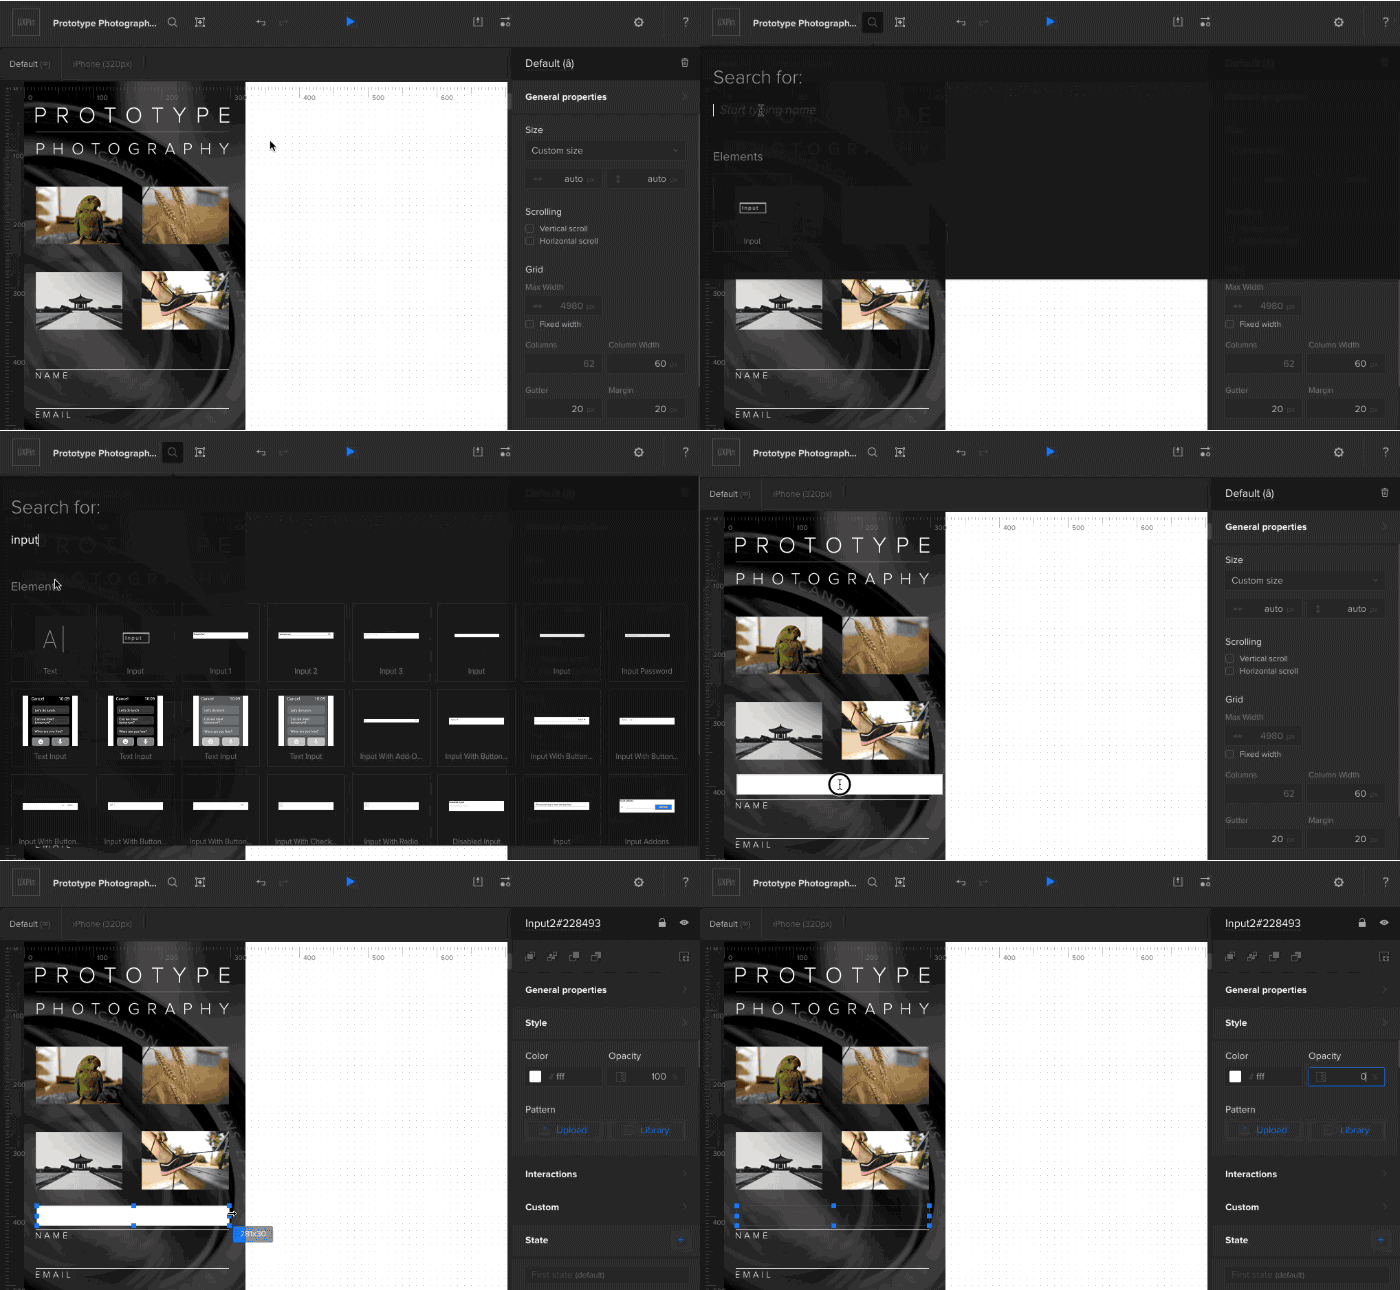
Making trendy underline input fields is easy: we just need invisible input fields. To make them, drag a regular input field into place, set its opacity to zero in the color menu, and turn off its border. Don’t forget to change its text color to white or light gray.
5. Add ghost buttons
The ghost-style submit button looks great, but could look better with a little interaction. Let’s delete the PSD version and create our own with a real UXPin button. Drag one out of the elements library. Next, set the button’s background to 0% opacity and its border to 1px light gray. Then set the text color to white, and you’re set. For details check out our tutorial on making ghost buttons.
6. Make the button interactive
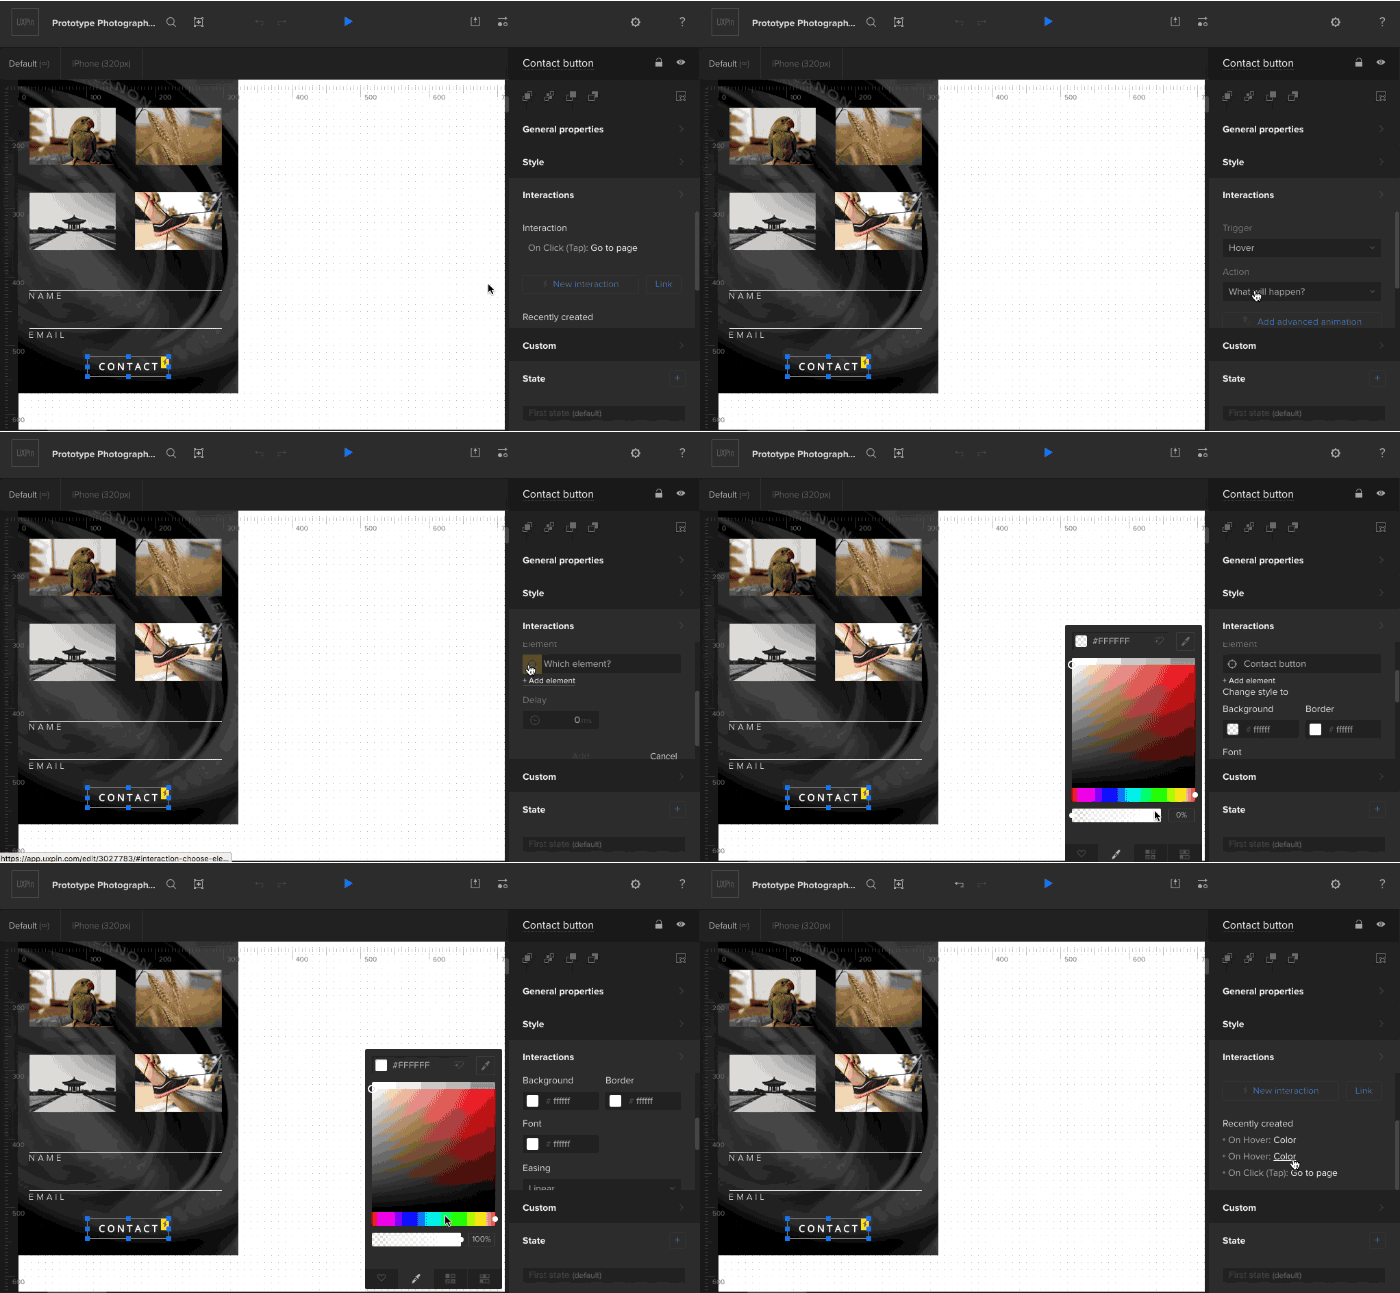
Even though it’s obviously a button, users appreciate visual cues to let them know what’s tappable. To that end we’ll add an action that makes the button light up on hover (desktop browsers) or on first tap (mobile browsers). This includes:
- Adding a “hover” action.
- Changing its background to white with 100% opacity.
- Changing its text color to black.
7. Copy the background to a new page
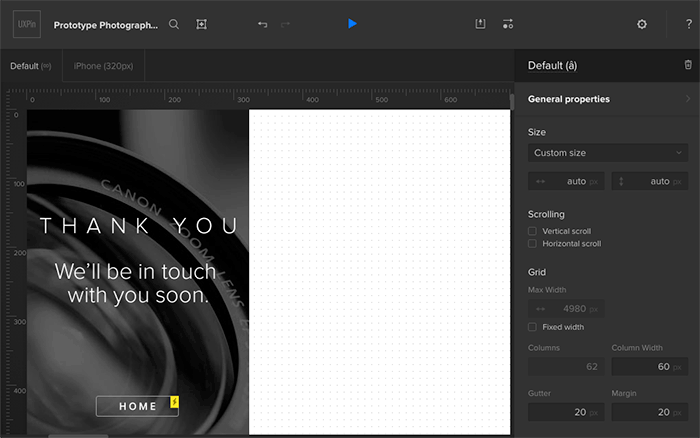
The flow’s incomplete without a “thank you” page. To make that happen, copy the background element from the Photoshop file to a new page called “thanks.” Add an appropriate message. In this case we created one in Photoshop to make sure the text matches. You can drag any JPG, PNG or GIF from your computer into the editor’s canvas to import it.
The result: An entire prototype, complete with layers and layer groups, based on your Photoshop document.
No matter how great they look, mockups in Photoshop will only get you so far with stakeholders. To show the full experience, you need to demonstrate the entire user flow. Design should begin and end with a definite goal in mind: leading users to the calls to action, informing and educating them, or otherwise solving a problem in communication. Interactive prototypes are the best ways to get your idea across before spending valuable time coding up a static mockup.
Take what you learned today and import your Photoshop comps with a free UXPin account to make your user flows interactive.
