What is Collaborative Prototyping?
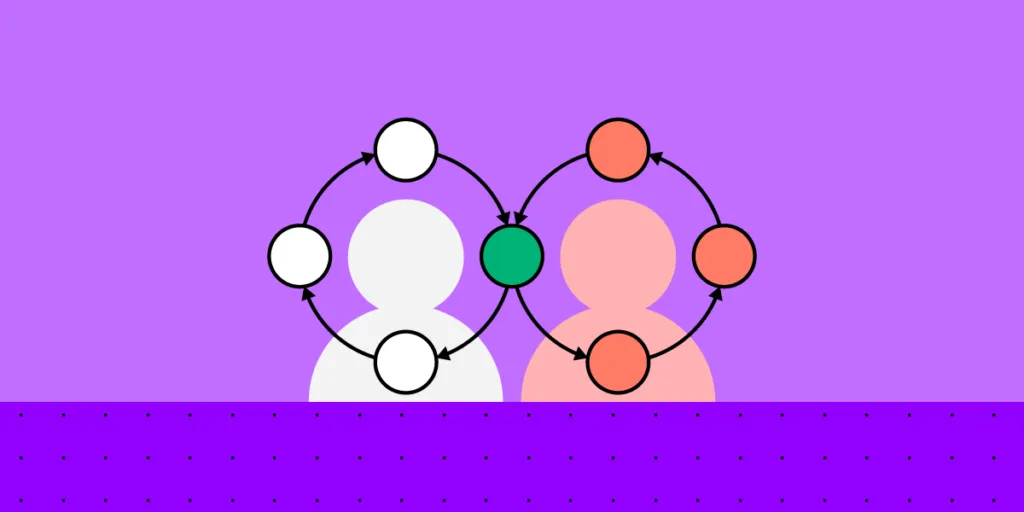
We’re always looking for new ways to enhance prototyping and cross-functional collaboration. Collaborative prototyping is a “hyper-efficient” sprint methodology to create a prototype in one day.
Bring collaboration between designers and developers to the ultimate level. Introduce a single source of truth for design and create high-fidelity interactive prototypes in minutes that devs can replicate 1:1. Visit our Merge page for more details about this revolutionary technology that united hunderds of teams.
Table of Contents
What is Collaborative Prototyping?
Collaborative prototyping (rapid collaborative prototyping) is a design sprint methodology created by Douglas Ferguson, President of Voltage Control, an Austin-based design agency.
Where a typical design sprint takes five days, the collaborative prototyping process produces an outcome in just one. Team members work in parallel on a single digital whiteboard and then collaborate using a design tool to build a prototype.
While this is a basic prototype, it gives design teams a head start in the design process, allowing them to begin testing and iterating their idea within a day.
What are the benefits of collaborative prototyping?
The main benefit of Douglas Ferguson’s rapid collaborative prototyping method is that it explores many ideas efficiently. As Douglas describes in this article, “This approach unleashes the entire Design Sprint team and supports everyone contributing in an efficient and productive manner.”
Rapid collaborative prototyping can produce comparable results in one day if you don’t have a week available for a design sprint. By the end of the day, the team has a basic prototype to start the iterative process of prototyping and testing.
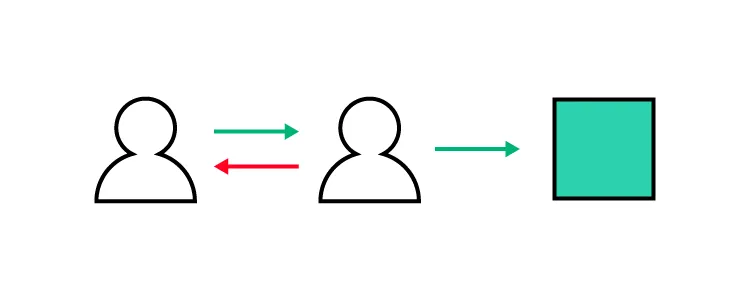
Collaborative prototyping is also an excellent teamwork exercise. Organizations can use a group of designers or a cross-functional team to develop many ideas and iterate on the best solution.
Lastly, rapid collaborative prototyping is just as effective as a remote exercise as in-person. Douglas’s team uses digital whiteboards and design tools for collaborative prototyping so everyone can take part and share their ideas quickly.
With team members connected to the same tools, everyone is focused and engaged during the various collaborative prototyping tasks. Because this prototyping methodology is so short and people can connect from anywhere, it makes the process more accessible to busy stakeholders who generally don’t have time to participate in 5-day design sprints.
The Rapid Collaborative Prototyping Process
Here is an overview of the 7-step rapid collaborative prototyping process.
Note: this process uses sprint terms and methods. Check out this article on Design Sprints for more context and understanding of the methodology.
Preparation
What you will need for a collaborative prototyping session:
- Time: One full 8-hour day
- Participants: 3 – 12 team members (7 is optimal for a standard design sprint) – including a decider
- Design facilitator: 1 (must understand the design sprint framework)
Tools (everyone must have access to these tools to provide input and collaborate):
- Digital whiteboard: Mural, Miro, Google Jamboard (you can copy Douglas’ Collaborative Prototyping Mural Template to save time)
- Design tool: UXPin with Merge – a collaborative design tool for creating fully functioning prototypes to which you can bring interactive components to build prototypes with
In-person collaborative prototyping: use a boardroom-style layout so team members can use their laptops and talk to one another.
Remote collaborative prototyping: everyone connects via Zoom (other videoconferencing software).
If your team has never done collaborative prototyping, it’s a good idea to tell them what to expect and the format–you could share this article as a reference.
Step 1. Introduction (5 minutes)
Introduce the rapid prototyping process outlining the steps below and the day’s objective–what problem are you aiming to solve?
Step 2. Storyboard (60 – 90 minutes)
The storyboard should map the user flow you want to prototype–i.e., an onboarding sequence or eCommerce checkout. This first step helps to align team members on the day’s goal with a shared understanding of the problem.
Douglas recommends focusing on four or five key moments in the flow rather than getting too granular. Remember, this prototype is a foundation for further iteration rather than a final solution.
Each team member writes seven steps people will encounter during testing. They review these as a group and vote on the best four or five. The facilitator draws these five steps on the whiteboard using post-it notes, and the team adds details to each step to enhance the story and fill missing gaps.
Step 3. Create a Kanban (30 minutes)
The Kanban lists the tasks on post-it notes in three columns:
- To do
- Doing
- Done
Sort these tasks by priority, with the highest at the top. Team members can self-select tasks by adding their initials to the post-it note, always taking the highest priority first.
If you’re running an in-person collaborative prototyping session, it’s best to use a physical whiteboard so it’s always visible and everyone can monitor progress.
Step 4. Narrate the Storyboard (20 minutes)
The facilitator recaps by narrating the storyboard to everyone as they follow along. They may add additional notes as they narrate. Team members take individual notes, which the facilitator adds to the Kanban after the recap.
Step 5. Collaborative Prototyping (4 hours)
Create a shared whiteboard divided into sections representing each screen of the prototype. Based on the Kanban tasks, team members place assets and content into each section.
The stitcher (or design facilitator) organizes the assets on the whiteboard and ensures everything is accurate for prototyping.
At the same time, the prototype makers use a design tool to create each screen. They grab content and assets from the whiteboard to produce a mockup for each screen.
Team members communicate through comments and annotations (on the whiteboard and prototype) to maximize efficiency. Sharing feedback on the whiteboard and prototype enables the facilitator to keep track of tasks and follow up where necessary.
This collaborative workflow creates a prototyping production line where each task feeds the next to maximize productivity and efficiency.
Step 6. Adding interactivity
Once the mockups are complete, the team finishes the user flow by adding interactions and pages flow. UXPin’s Interactions allow designers to copy and duplicate interactions. One team member can create interactions for others to replicate throughout the prototype–maximizing collaborative prototyping efficiency.
Step 7. Prototype playback
The final step reviews the prototype and lists any revisions as tasks, adding them to the Kanban. The design facilitator clicks through the prototype, discussing each step. At the same time, the group follows and creates tasks to revise the prototype–for example, during playback, the facilitator notices that the input fields don’t have error messages.
Team members add these revisions to the Kanban and assign them for fixing before testing.
Collaborative Prototyping With UXPin Merge
Douglass’ method is great for getting an initial project. Yet, few teams will be able to complete a prototype that can be pushed to development. For a prototype to be a design handoff ready, designers need to think about every state, micro-interaction, etc. That’s why they need to build a prototype a while longer.
What can significantly enhances prototyping accuracy and efficiency is UXPin Merge. Go from ideation to a fully functioning prototype ready for testing in less than a day! That’s all using interactive building blocks of an app or a website that you want to build.
Use the built-in MUI library or connect your product’s design system to build a fully functioning prototype in minutes. PayPal’s product designers create one-page Merge prototypes that look and feel like the final product using the company’s custom Fluent UI design system in under 10 minutes–perfect for rapid collaborative prototyping.
“With this new UXPin approach, we’re seeing a more collaborative, integrative design process. Rather than separating design, prototyping, and development, UXPin allows us to create an integrated flow where we engage engineering and product teams throughout the process.” – Erica Rider, UX Lead EPX @ PayPal.
How Merge Works
Merge lets you sync a design system with UXPin’s design editor so designers can build prototypes using interactive components, complete with basic interactivity, states, colors, sizing, and other properties defined by the design system.
Merge components are interactive by default, saving designers countless hours from adding interactions to user interface elements for each project. The example below shows several UI components from the MUI library, all of which have default MUI interactions. We simply dragged these components onto the canvas and hit preview.
[ADD mui-component-example]
These default interactions make Merge the perfect collaborative prototyping, maximizing consistency when more than one person is working on the same project. Using interactive components means designers create fewer interactions, saving time while allowing them to focus more on navigation and user flows.
For example, creating a dynamic, functioning date picker using an image-based design tool is impossible. With endless date possibilities, designers can’t replicate this component, no matter how many frames they use!
With UXPin Merge, designers can drag a fully functioning date picker from the component library onto the canvas, ready to go.
[ADD date-picker-demo]
With this prototyping efficiency, designers can achieve significantly better results during rapid collaborative prototyping in a shorter time!
Better collaboration
With UXPin Comments, team members can assign comments to each other and mark them as resolved once actioned–perfect for in-person and remote collaborative prototyping sessions. Team members can also filter comments by:
- Comments assigned to them
- Unassigned comments
- Comments from all pages
- Unresolved comments
The team can also invite stakeholders to preview prototypes and add feedback via Public Comments–even if they don’t have a UXPin account.
Meaningful testing results
Better quality prototypes mean better results during testing. End-users can interact with Merge prototypes during testing as they would the final product–giving designers meaningful, actionable results to iterate and improve much faster.
Designers also get better feedback from stakeholders, who can engage with prototypes and use every feature instead of asking why they can’t use text fields or select a date and time.
“Our stakeholders are able to provide feedback pretty quickly using UXPin. We can send them a link to play with the prototype in their own time and UXPin allows them to provide comments directly on the prototypes. UXPin’s comments functionality is great because we can follow along and mark comments as resolved once we address them.” – Erica Rider, UX Lead EPX @ PayPal.
Achieve better results with the world’s most advanced collaborative prototyping tool. Visit our Merge page for more details and how to request access.


